


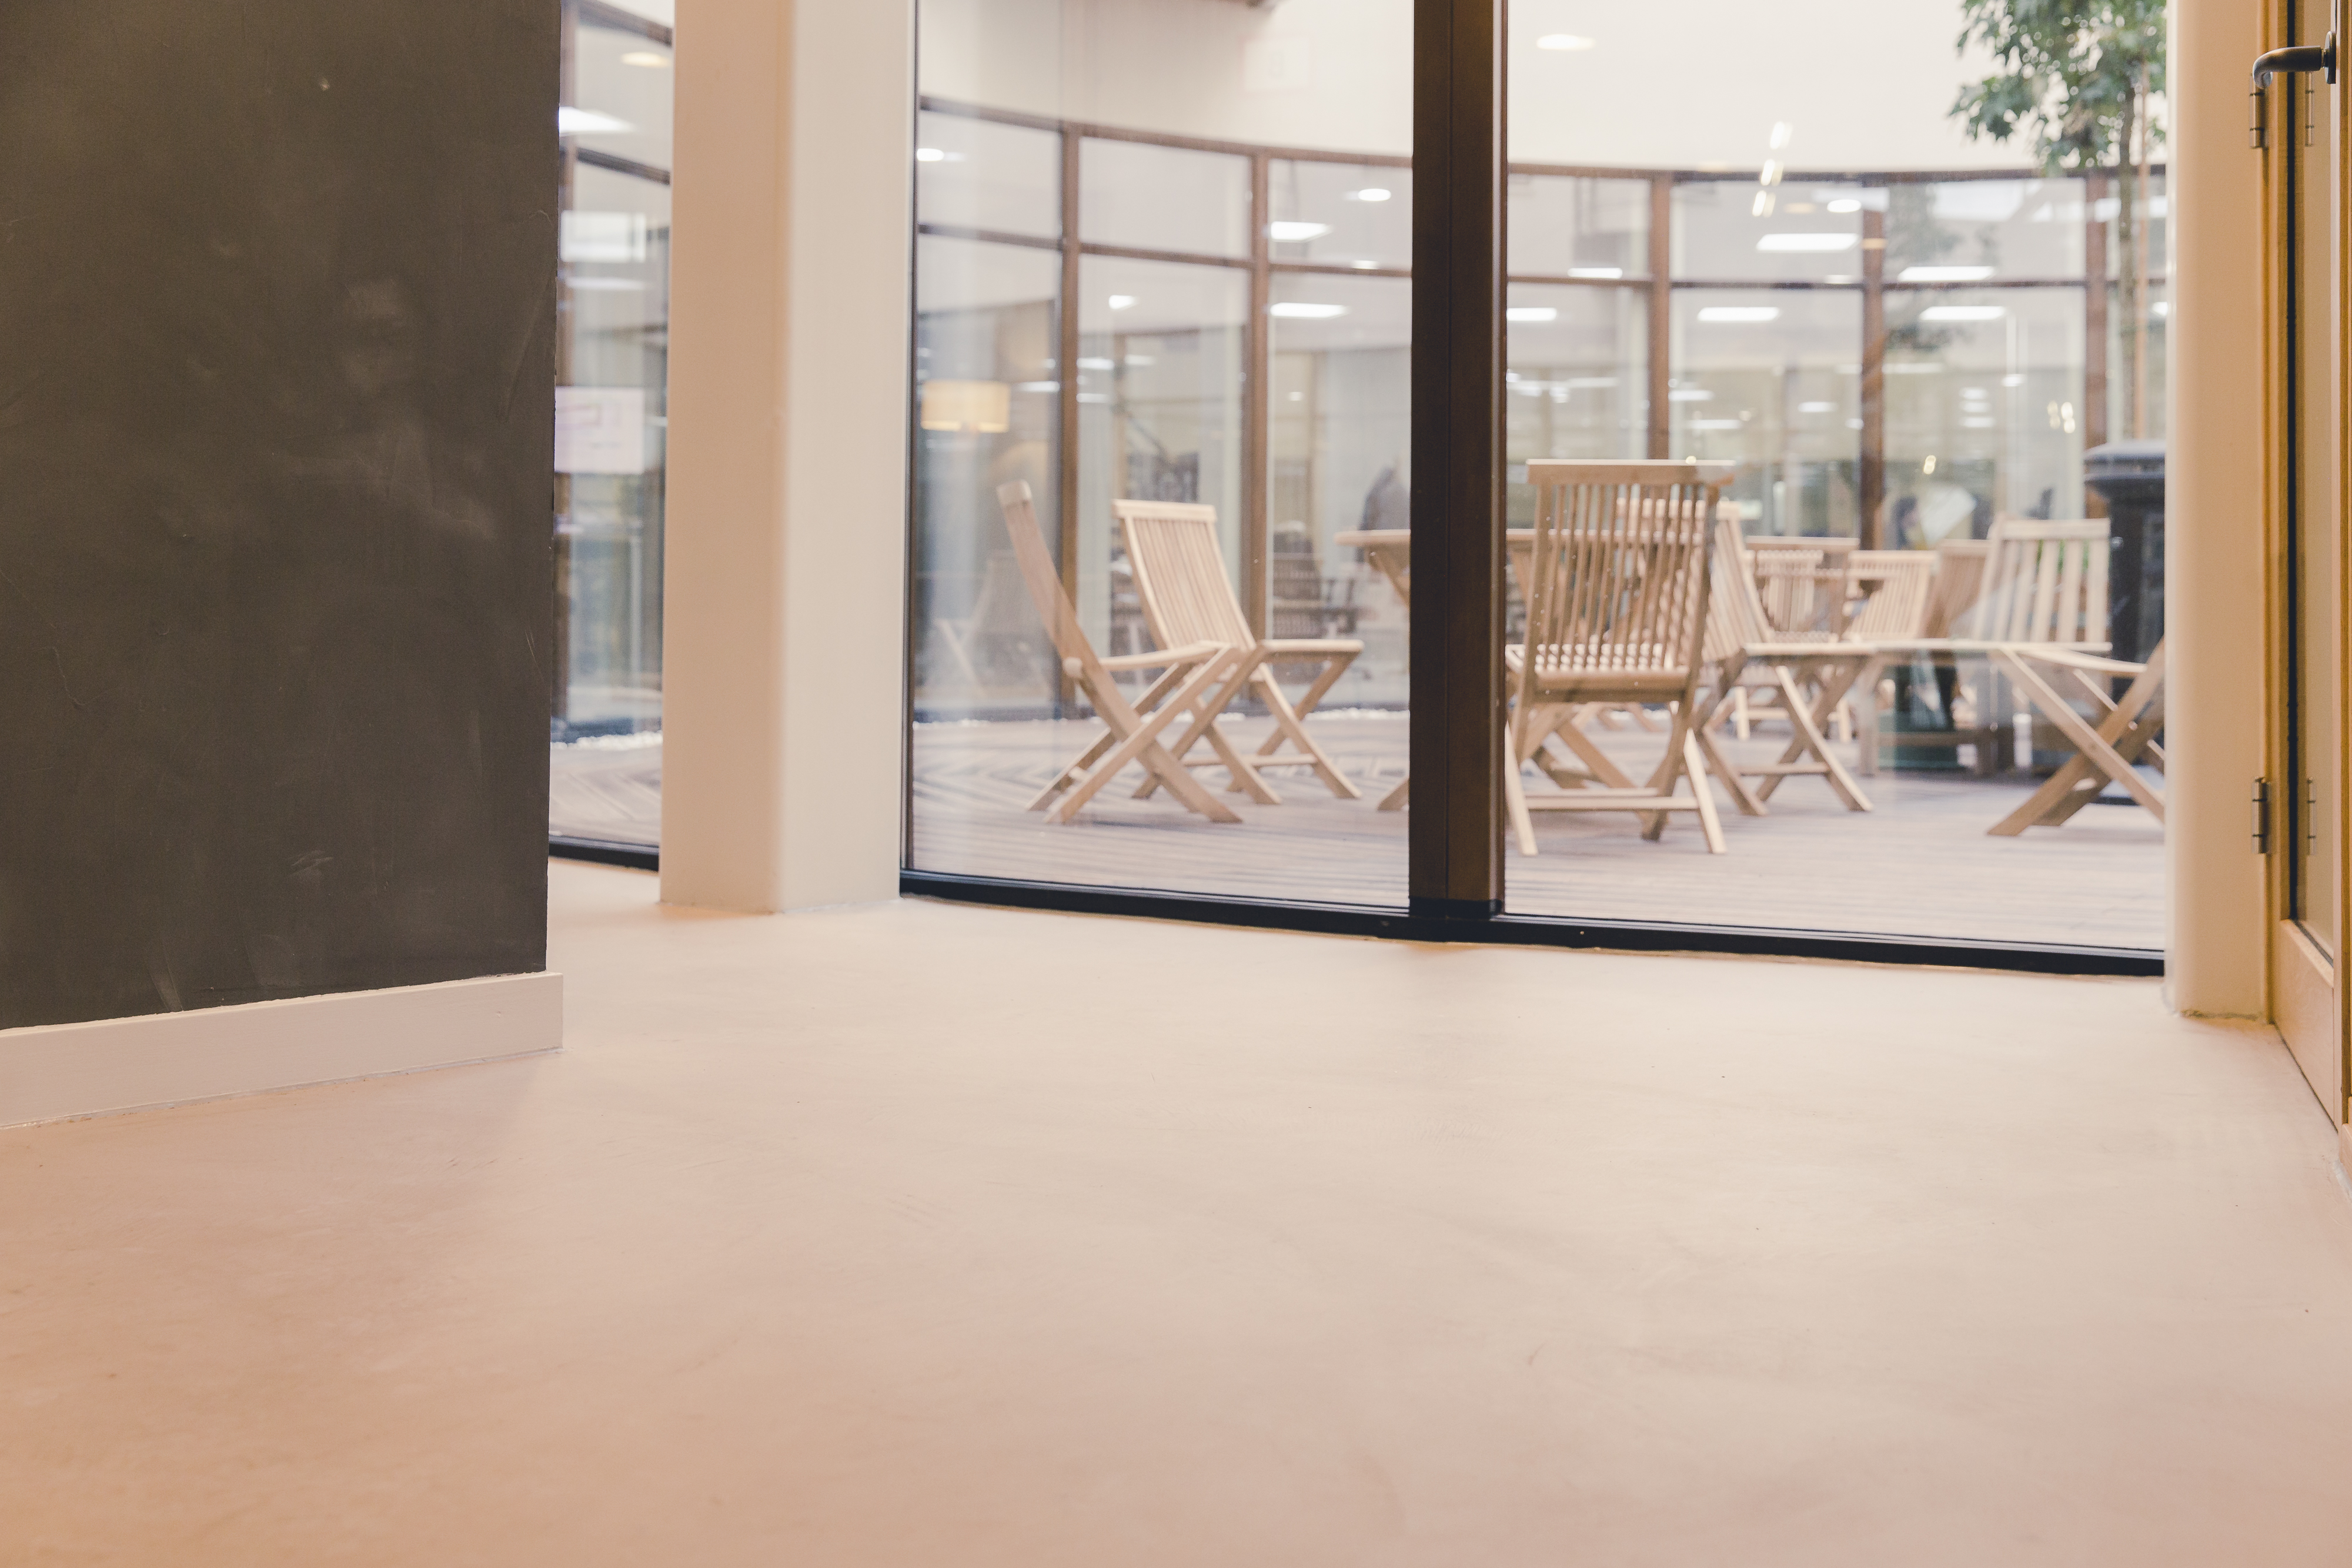
Microcement bathrooms in Ireland have become a popular choice for homeowners who want a calm, continuous finish without the visual interruption of grout lines. The material can be used across walls, floors, vanity surrounds and selected shower areas, but the finished appearance depends on much more than colour. Substrate condition, preparation, waterproofing, drainage and sealing all need to be considered as one complete system.
This guide explains the decisions to make before ordering materials or booking an applicator. It is written for Irish homeowners, self-builders, renovators and tradespeople comparing a DIY system with professional application.
What is a microcement bathroom?
Microcement is a thin, hand-applied decorative coating used to create a continuous mineral-style surface. Because it is applied in layers, it can follow many existing forms and details without creating the heavy build-up associated with some traditional finishes.
In a bathroom, it may be specified for:
- Walls and feature walls
- Bathroom and wet-room floors
- Shower enclosures and niches
- Vanity units and splashbacks
- Bath surrounds
- Worktops and shelving
The same finish can continue across several surfaces, creating a visually larger and quieter room. Each application still needs the correct primer, reinforcement, base coats, finish coats and protective sealer for its substrate and intended use.
Is microcement suitable for bathrooms and wet rooms?
Yes, when the complete specified system is used and the substrate is properly prepared. The decorative microcement layer should not be treated as a substitute for every element of wet-area construction. Shower falls, drains, movement joints, penetrations and any required waterproofing or tanking must be resolved before the decorative finish is applied.
A successful bathroom specification considers the whole build-up rather than relying on a single product. In wet zones, use compatible products from one system and follow the relevant technical instructions. If the substrate moves, contains unresolved moisture or has failing joints, coating over it will not correct the underlying problem.
For a shower or wet room, professional assessment is the sensible route when there is uncertainty about waterproofing, drainage or substrate stability. You can request project advice before deciding which system is appropriate.
Can microcement be applied over existing bathroom tiles?
It can often be applied over sound, firmly bonded tiles, which is one reason it is attractive for renovation projects. The tiles must first be assessed. Loose tiles, hollow areas, active cracks, damp and unstable backgrounds need to be repaired rather than concealed.
Preparation may include:
- Removing silicone and contaminants
- Thorough cleaning and degreasing
- Checking that every tile is securely bonded
- Levelling deep grout lines and irregularities
- Applying the correct adhesion primer
- Reinforcing joints or the surface where specified
- Creating a stable, even base before finish coats begin
Applying directly over suitable tiles can reduce demolition and disruption, but it does not mean preparation can be skipped. The quality of the finished surface is closely connected to the quality of the background underneath it.
Which surfaces should be included?
You do not need to cover the entire bathroom. A focused application can be just as effective as a fully continuous room.
Full bathroom
Using one finish across floors and walls gives the strongest seamless effect. It works particularly well in compact bathrooms where reducing visual lines can make the space feel more generous.
Shower or wet zone
A microcement shower can become the room's focal point. Falls, corners, niches, fittings and penetrations should be planned before coating begins so that the finish remains visually consistent.
Feature wall
A single wall behind a vanity or bath is a lower-risk way to introduce texture and colour. It can also work well when the existing floor is being retained.
Floor only
A continuous floor can connect the bathroom with an adjoining bedroom or hallway. The substrate must be stable, appropriately prepared and compatible with the selected floor system.
Browse our completed microcement projects to compare bathrooms, floors, walls and different finishing approaches.
How to choose a bathroom colour
Colour behaves differently across a large textured surface than it does on a small sample. Natural and artificial light, room orientation, sanitaryware, timber and metal finishes all influence the final impression.
Warm whites, sand and limestone tones create a soft spa-like atmosphere. Greige and mid-grey finishes suit contemporary schemes, while deeper mineral colours can create a dramatic shower or feature wall. A slight tonal movement is part of the hand-applied character rather than a defect.
Before making a final decision:
- View physical samples in daylight and evening light
- Compare the colour beside tiles, timber and sanitaryware
- Consider how the finish will look across both horizontal and vertical surfaces
- Decide whether you want a subtle or visibly handcrafted texture
- Confirm the sheen and sealer specification
Explore the microcement colour collection and visit our Dublin showroom by booking an appointment if you want to see authentic finishes in person.
Microcement bathroom cost in Ireland
There is no responsible single price for every bathroom. Two rooms with the same floor area can require very different quantities of material and preparation. A quote should be based on the total area being coated and the actual condition and complexity of the surfaces.
The main cost factors are:
- Total wall and floor area
- Existing substrate condition
- Repairs, levelling and reinforcement
- Wet-room or shower detailing
- Number of corners, niches, steps and penetrations
- Chosen finish and system
- DIY supply or professional application
- Access, programme and drying time
Measure each intended surface separately rather than estimating from the bathroom's floor area. Include walls, shower returns, niches, bath panels and vanity surfaces where applicable. Keep a small allowance for the project specification instead of ordering to an exact theoretical measurement.
For a project-specific assessment, use the microcement quotation form. This avoids publishing a headline price that may exclude essential preparation or wet-area work.
DIY or professional application?
The right choice depends on the room, the applicator's experience and the consequences of an error.
DIY may suit a competent renovator working on a small, dry feature wall or straightforward surface with a stable background. A full shower, wet room, floor with drainage falls or complex renovation carries greater risk. Waterproofing, substrate movement and final sealing deserve particular care because problems can remain hidden until the room is in use.
Choose a DIY route when you can:
- Follow each system stage without shortcuts
- Prepare the substrate correctly
- Control mixing, timing and drying conditions
- Work continuously enough to maintain the intended texture
- Keep the area protected throughout curing
Choose professional application when the project includes complex wet zones, uncertain backgrounds, demanding details or a finish that must be consistent across a large area.
Our online shop includes DIY and professional systems, tools and consumables. Practical training is also available through the Microcement Academy for customers who want hands-on guidance before starting.
What the application process involves
Exact instructions vary by system, but a properly planned installation generally follows a clear sequence.
1. Survey and preparation
The substrate is checked for adhesion, movement, moisture and flatness. Fixtures and details are planned, and unsuitable material is removed or repaired.
2. Priming and reinforcement
The correct primer creates adhesion between the background and subsequent layers. Reinforcement is introduced where the system or substrate requires it.
3. Base coats
Base layers create strength and a consistent surface. They are applied, allowed to dry and prepared for the decorative finish.
4. Finish coats
Fine decorative coats establish the colour, movement and tactile character. Hand application means every completed surface has natural variation.
5. Sealing and curing
The compatible sealer protects the finish for its intended environment. The room should not be put into service before the complete system has cured in accordance with its technical instructions.
Rushing preparation or cure times to meet another trade's programme is a false economy. Plan the bathroom schedule around the complete system rather than treating microcement as a final coat of paint.
Cleaning and maintaining microcement
Routine care is straightforward when the surface has been correctly sealed. Use gentle, pH-neutral cleaning products and soft cloths or mops. Remove standing water and soap residue regularly, particularly in showers.
Avoid abrasive pads, harsh descalers and aggressive chemical cleaners unless the system manufacturer confirms compatibility. Protect the surface from sharp impacts, and maintain flexible seals around sanitaryware and movement points. The protective sealer may require inspection or renewal over time depending on use and cleaning habits.
Good ventilation also matters. It helps the entire bathroom dry between uses and reduces persistent condensation on every surface, not only microcement.
Common planning mistakes to avoid
- Choosing colour before checking it in the room's actual light
- Assuming microcement will repair an unstable substrate
- Ignoring falls, drains, corners and service penetrations
- Mixing incompatible products from different systems
- Underestimating the total wall area
- Skipping samples and expecting a perfectly uniform factory finish
- Using the bathroom before the system has cured
- Selecting DIY application for a complex wet room without suitable experience
Start with the room, not only the finish
The best microcement bathrooms are planned as complete rooms. Decide where the finish begins and ends, resolve wet-area construction, check the substrate, then choose colour and texture. This produces a more reliable specification and a calmer visual result.
To take the next step, explore bathroom project inspiration, compare microcement colours, browse DIY and professional products, or tell us about your project for practical guidance.